

Read the original article here
This post is the final part of the cross site scripting series. If you have missed the first part for some reason, you can read it here.
Important Note
Please note that, all the information provided in this article is solely meant for educational purposes only.
What We Will Be Creating
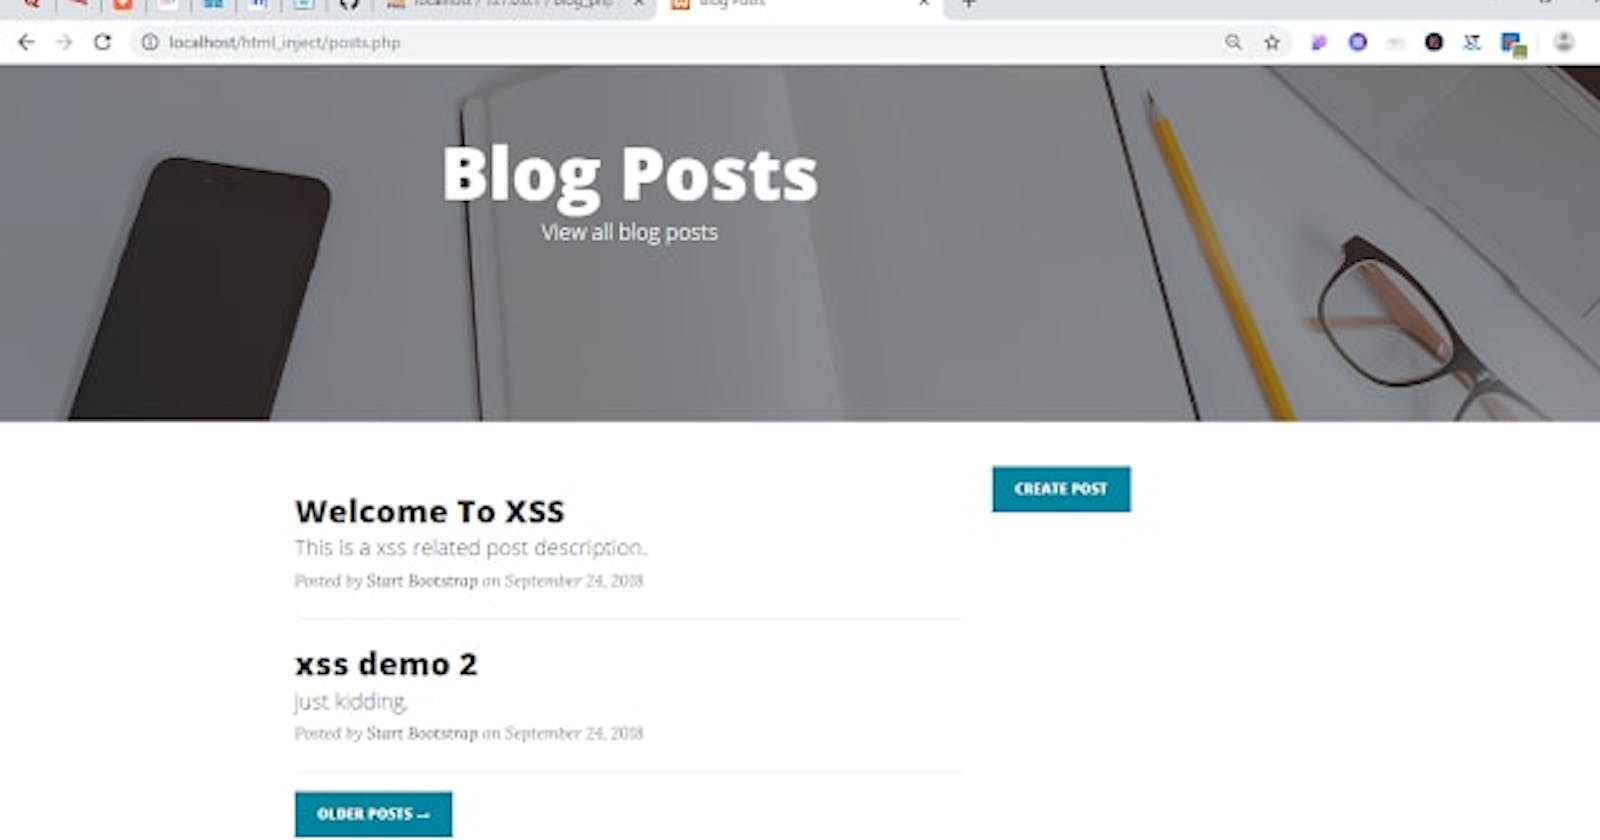
We will create two pages; a post creation and post listing page.
Screen shot of post listing page is shown below.

Screen shot of post creation page is shown below.

In order to follow along with this article, you need to create a post table in your database using php myadmin.
The table structure for the post table is as follows.

Following screen shot is the code for the db.php file that contains database connectivity codes.

Download the entire project by clicking here.
Explanation of posts.php:
In the posts.php file, the post title and description is saved into post table. Before saving post, we make sure that our application is safe from sql injection. In order to do so, we used mysqli_real_escape_string() function. If you don't know anything about sql injection, you can read it here.
Exploiting The Application By Stored Cross Site Scripting
We finished adding post creation functionality for this application. Let's see how to exploit this application so that when anyone visits this page, his or her session cookie will be stolen and send to the attacker.
In the screen shot below, attacker injects the javascript code in the comment box, that executes a php code via AJAX call.

We can see from the above screen shot that, after adding jquery cdn link, reference to a file known as evil.js is added. For getting this example to work successfully, you need to create a file evil.js in the js folder of the root directory of the current project.
Explanation of evil.js:
The evil.js file collects cookies that is stored in the browser, and then it sends that in getCookiedata.php file.
Explanation of getCookiedata.php:
Stolen cookie information is stored in "cookie_data.txt" file. If the code executes for the first time, then that file will be created in root directory of the application. If already this file exists, then new content will be appended to the file.
To make sure that you understand the stored xss attack, we stored the cookie_data.txt file in the root of the application. But, generally, attacker stores the information to his or her own server.
Getting Session Cookie Value
After attacker injects the javascript codes, nothing is displayed as post description in the post listing page as we can see from the screen shot below.

But, if we open the "cookie_data.txt" file, we can see the session cookie content is present there!

Preventing Cross-Site Scripting Attack
We saw, how an attacker can make use of xss to steal session cookie in previous screen shot. Now, we will stop the attacker from doing that.
Make the changes in "save_post.php" file that are highlighted in red as shown below.

Explanation:
We used, htmlspecialchars() function, that will convert some special characters to HTML entities so that xss will no longer work. For example, ">" will be converted to ">".
Now, if we clear the contents of cookie_data.txt file, previous post record that stores the injected javascript code in post table and then again try to repeat what we did earlier, then see what will happen!
After pressing Save Post button, if we open the post table, we will see something similar to the screen shot below.

Now, if we open the "cookie_data.txt" file, we will no longer see any content inside of it. It is completely empty.
Final Words
If you find this article helpful, please share it among others.